7
If the product with union nut and adapter cannot
be fitted to your heating valve, buy a suitable
adapter from a specialist dealer.
Disassemble old thermostatic head
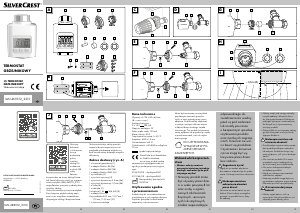
(Fig. C)
1. Set the thermostatic head (12) to the highest
level (13).
Note: the thermostatic head no longer presses
on the valve pin of the radiator and can accord-
ingly be disassembled more easily.
2. Loosen the fastening (11) of the thermostatic
head with a suitable tool (not included in the
package contents) and remove the thermostat-
ic head.
Mount new thermostatic head
CAUTION
Risk of jamming!
• Be careful not to pinch your fingers when
mounting the product and the adapter.
CAUTION
Danger of cutting!
• The adapters and the tappet extension may
have sharp edges.
Note: depending on the radiator valve,
mount the product either directly or with a
suitable adapter for radiator valves from ‘Dan-
foss’/‘Herz’.
Assembling without adapter (Fig. D)
Screw the product (1) onto the radiator valve
using the union nut (1a).
Assembling with RA adapter (Fig. E)
1. Push the adapter (2a) onto the radiator valve
until it clicks into place.
Note: the notches (14) ensure an optimal fit.
2. Secure the adapter with the screw (6) and the
screw nut (7) using a suitable screwdriver (not
included in the package contents).
3. Screw the product (1) onto the adapter using
the union nut (1a).
Assembling with RAV adapter
(Fig. F)
1. Place the tappet extension (3) on the valve
pin.
2. Push the adapter (2b) onto the radiator valve
until it clicks into place.
Note: the notches (14) ensure an optimal fit.
3. Secure the adapter with the screw (6) and the
screw nut (7) using a suitable screwdriver (not
included in the package contents).
4. Screw the product (1) onto the adapter using
the union nut (1a).
Assembling with RAVL adapter
(Fig. G)
1. Push the adapter (2c) onto the radiator valve
until it clicks into place.
Note: the notches (14) ensure an optimal fit.
2. Screw the product (1) onto the adapter using
the union nut (1a).
Assembling with Herz adapter
(Fig. I)
1. Place the tappet extension (10) on the valve
pin.
2. Push the adapter (9) onto the radiator valve
until it clicks into place.
3. Secure the adapter with the screw (6) and the
screw nut (7) using a suitable screwdriver (not
included in the package contents).
4. Screw the product (1) onto the adapter using
the union nut (1a).
Service launch
• When the product (1) is switched on for the
first time, all graphics on the display (1b) are
shown in full for approx. two seconds.
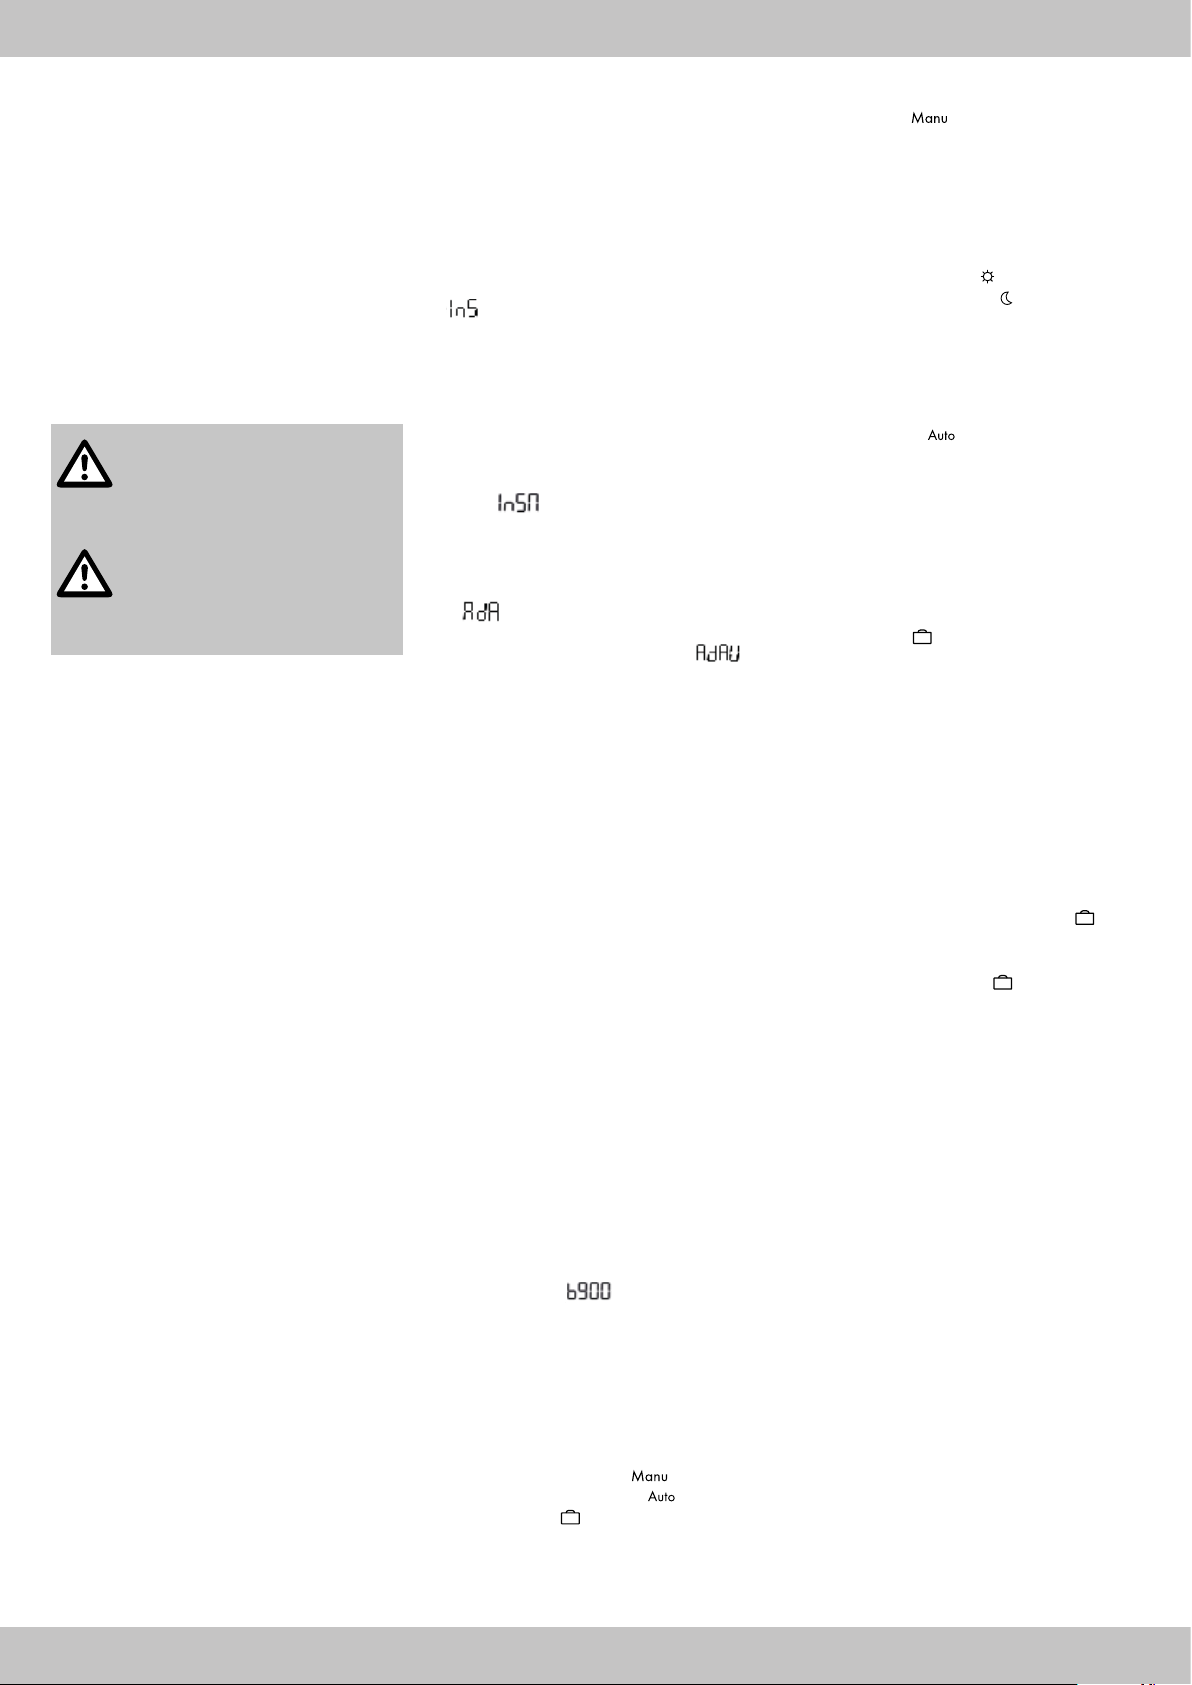
• ‘
’ is then displayed, indicating that the
motor is starting up.
• After approx. one second, a year appears in
the display.
1. Set the year by rotating the dial (1f). Press the
‘OK’ button (1e) to confirm the year setting.
2. Set the month, day, hour and minute one after
the other using the dial and confirm each
entry with the ‘OK’ button.
Note: if ‘
’ is displayed after the last
setting, you must continue to wait before service
launch. The product opens and closes the
radiator valve several times to learn the end
points. This process may take a few minutes.
3. If ‘ ’ is displayed, the product has
completed the settings. Press the ‘OK’ button
to test the valve. The display shows ‘ ’. If
this test is successful, the product enters normal
operating mode.
4. If an error code is displayed, press the ‘OK’
button to reset the product and restart service
launch.
• Error codes
F1: the movement of the valve is sluggish. Check
whether the radiator valve is blocked.
F2: the setting range of the radiator valve is too
large. Check the correct fastening of the radiator
valve.
F3: the adjustment range of the radiator valve
is too small. Check whether the radiator valve is
blocked or the valve resistance is too high.
F4: the valve path was not detected correctly.
Repeat the service launch.
Note: depending on the valve status, it may be
necessary to start up the system several times
until the radiator valve is recognised correctly.
Note: if the service launch is unsuccessful after
several attempts, fit a suitable spacer ring (5a,
5b, Fig. H) and start service launch again.
Normal operating mode
‘OK’ button
• Press the “OK” button (1e) to activate the
quick heating mode (boost function) for 15
minutes. The display (1b) shows a countdown
of 900 seconds: ‘ ’. After the time has
elapsed, the product returns to its preset state.
• Press the ‘OK’ button again to exit the quick
heating mode before the countdown has
elapsed.
‘Menu’ button
• Press the ‘Menu’ button (1d) to switch be-
tween the following modes:
1. manual operating mode (1i)
2. automatic operating mode
(1i)
3. holiday mode
(1h)
• Press and hold the ‘Menu’ button for approx.
two seconds to access the menu overview (see
Menu chapter).
1. Manual mode
In manual mode use the dial (1f) to set a
fixed temperature that is maintained by the
product. The adjustable range is between 0.5°C
and 29.5°C. The temperature can be set in
0.5°C steps.
‘Time’ button
• Press the ‘Time’ button (1g) to toggle between
the heating temperature (1j) and the
energy-saving temperature (1j). The
standard heating temperature is 21.0°C, the
energy-saving temperature is 17.0°C.
• Rotate the dial (1f) to set the respective
temperature.
2. Automatic mode
In automatic mode the product controls the
temperature according to the set time pro-
gramme (see Menu chapter/1. Heating time
setting).
Note: if you adjust the temperature in auto-
matic mode using the dial (1f), the manually set
temperature remains unchanged until the next
time switch point.
3. Holiday mode
In holiday mode the temperature is kept
constant for a set period of time.
1. Use the dial (1f) to set the heating time in
hours and press the ‘OK’ button (1e) to
confirm.
2. Set the start time of the holiday function (year,
month, day, hour, minute) and confirm your
settings each time by pressing the ‘OK’ button.
3. Set the temperature with the dial and confirm
your setting with the ‘OK’ button.
Note: for example, if it is currently 10 am, but
the start time of the holiday mode is set for 1 pm
of the same day, the heating valve remains
closed from 10 am to 1 pm. The symbol
is
permanently shown in the display. From 1 pm,
the product operates according to the set
temperature and the symbol flashes. After the
set heating time has elapsed, the product
automatically switches from holiday mode to
automatic mode.
Menu
• Press the ‘Menu’ button (1d) for approx. two
seconds to enter the menu overview.
• Select the desired function with the dial (1f).
• Press the ‘OK’ button (1e) to access the setting
options for the respective function.
• Press the ‘OK’ button again to confirm the
respective setting.
Note: after approx. 30 seconds, the display
switches back to the normal operating mode if
one of the seven menu points is displayed. If you
are in the settings of a menu item, the automatic
changeover does not take place.
GB


Dołącz do dyskusji na temat tego produktu
Tutaj możesz podzielić się swoją opinią na temat SilverCrest IAN 441763 Termostat. Jeśli masz pytanie, najpierw dokładnie przeczytaj instrukcję. Zapytanie o instrukcję można złożyć za pomocą naszego formularza kontaktowego.
Loading…
odpowiedz | To było pomocne (0) (Przetłumaczone przez Google)
odpowiedz | To było pomocne (0) (Przetłumaczone przez Google)
odpowiedz | To było pomocne (0) (Przetłumaczone przez Google)