
13
12
PL
PL
ENEN
IMPORTANT WARNINGS
This appliance is designed for home use and should never be used for commercial or industrial use under
any circumstances. Any incorrect use or improper handling of the product shall render the warranty null
and void.
Prior to plugging in the product, check that your mains voltage is the same as the one indicated on the
product label.
The mains connection cable must not be tangled or wrapped around the product during use.
Do not use the device, or connect and disconnect to the supply mains with the hands and/or feet wet.
Do not pull on the connection cord in order to unplug it or use it as a handle Unplug the product immediately
from the mains in the event of any breakdown or damage and contact
Do not pull on the connection cord in order to unplug it or use it as a handle.
Do not process tough foods, such as bones, nuts (such as dry and hard soybeans) or other food with tough
ber.
Please utilize the pusher during operation, instead of pushing food by hands.
Unplug the product immediately from the mains in the event of any breakdown or damage and contact
an ofcial technical support service. In order to prevent any risk of danger, do not open the device. Only
qualied technical personnel from the brand´s Ofcial technical support service may carry out repairs or
procedures on the device.
B&B Trends S.L. disclaims all liability for damages that may occur to people, animals or objects, for the
non-observance of these warnings.
INSTRUCTIONS FOR USE
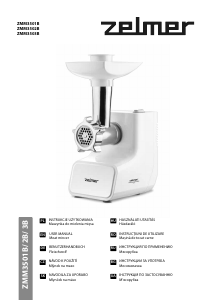
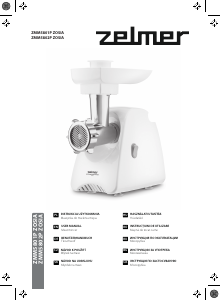
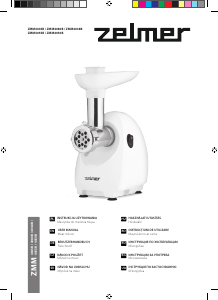
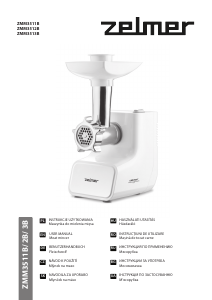
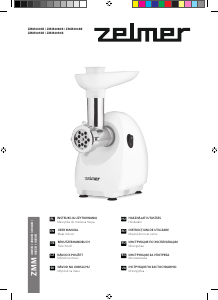
Meat Grinder
The continuous operation should not exceed 5 minutes; suspend the operation in the event of exceeding 5
minutes and restart the machine after cooling down.
Preparing the meat mincer to work and the actuation of the appliance
Place the drive unit (1) close to the power network socket, on a rm surface so as not to cover the ventilation
holes within the casing.
Before the rst use of the meat mincer, wash the equipment elements.
Assemble the appropriate equipment and join it with the drive unit.
Plug in the unit.
Turn the meat mincer on with the main switch (2)
Operating the mincing set
Insert the following parts into the mincer body (1):
Insert the scroll (5) with the coupling facing inside. Fit the knife (6) onto the pin of the scroll. Make sure the
blade is outward (failure will be caused for incorrect placement)
Place the disc over the knife so that the protrusion in the mincer body will t into the groove in the
circumference of the disc.
Tightly t all the elements of the mincer unit.
Fit the assembled mincer unit onto the drive unit (1) and turn it until you hear a click of the lock. It means
that the body has been properly installed.
Place the tray (11) on the mincer chamber (4).
NB: Use only the pusher (12) to push products.
Operating the sausage stuffer
Insert the following parts into the mincer body (1): Insert the scroll (5) with the coupling facing inside. Fit the
insert onto the pin of the scroll.
Fit the sausage stufng tube.
Tightly t all the elements with the threaded ring (10). Fit the assembled mincer unit onto the drive unit (1)
and turn it until you hear a click of the lock.
Place the tray (11) on the mincer body (1).
Soak the casing for about 10 minutes before tting. Fit the wet casing on the sausage ller nozzle.
NB: Make sure not to block the ventilation openings on the nozzle.
NB2: The meant cannot be “too thin”. A large liquid content may cause its leakage to the inside of the
mincer.
Shredder
The shredder is equipped with 3 discs. The rst, for grating into chips (cheese, carrots, celery, roast
beetroot, etc.). The second disc (slicing disc) is used for grating vegetables (potatoes, onions, cucumbers,
etc.). The third cutting disc (drum disc) is used for mashing vegetables (potatoes, beetroot, etc.) and fruit.
Operating the shredder
Assemble the chamber of the shredder just as like mincing chamber.
Place the required cutting rolls (14-16) on feeding tube, make sure the bottom of cutting rolls is tightly
compacted to the salad tube.
Cut large products into smaller elements, which you can easily put into the mincing chamber.
Do not mash soft fruits containing stones.
When the work is nished pull the power cord out from the network supply \socket.
Remove the food remaining in the shredder chamber or on the grater with a wooden spoon.
NB: blades of the disc do not require any regeneration.
Operating the juice extractor
Please follow the picture on the way to the tomatoes accessories installed.
Insert the following parts into the mincer body:
Insert the scroll with the coupling facing inside. Fit the insert onto the pin of the scroll.
Fit the juicer screw and juicer chamber
Tightly t all the elements with the threaded ring
Fit the assembled mincer unit onto the drive unit and turn it until you hear a click of the lock.
Place the juicer anti splash protector
Chop in tomatoes rstly. Turn on the power switch and make sure the equipment moves all right before
put.
Use food pusher. Use the juicer regulator screw to regulate the release of pulp.
Mechanical safety device for the motor
The meat mincer is equipped with mechanical protection, which secures the motor against any damage –
teeth of the coupling break, when the meat mincer is overloaded (f. ex. when bones have entered into the
mincing chamber).
The broken coupling should be replaced with a new one:
- unscrew the coupling from the feed screw,
- remove the broken coupling
- put on the new coupling and screw it.





Dołącz do dyskusji na temat tego produktu
Tutaj możesz podzielić się swoją opinią na temat Zelmer ZMM1530 Maszynka do mielenia. Jeśli masz pytanie, najpierw dokładnie przeczytaj instrukcję. Zapytanie o instrukcję można złożyć za pomocą naszego formularza kontaktowego.