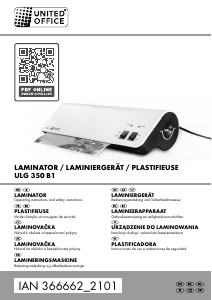
Home Office Laminator
PL102
Specifications
Hot seal laminator with 2 heated rollers
Perfect for protecting inkjet printed photos,
ID cards, letters, recipes, menus, luggage tags
and many more
Silent, automatic roller-fed laminating system
Max. width: 220 mm
Max. strength of laminate: 0.4 mm
Max. pouch thickness: 2 x 80 mic
Laminating speed: 600 mm / minute
Warm-up time: 1 minute
Temperature auto control: Yes
Bedienungsanleitung PL102
Die folgenden Informationen sind wichtig. Lesen Sie diese bitte vor
Gebrauch gründlich durch, danke.
Das Gerät immer auf einer feststehenden Arbeitsfläche in der
Nähe einer leicht zugänglichen Steckdose aufstellen. Keine
Metallgegenstände laminieren. Zur Vermeidung von
Elektroschocks darf das Gerät niemals in feuchter oder nasser
Umgebung benutzt werden und es darf kein Wasser auf das
Gerät, Anschlusskabel oder die Steckdose kommen. Das
Laminiergerät nicht benutzen, wenn das Anschlusskabel
beschädigt ist! Setzen Sie das Laminiergerät nie folgenden
Einflüssen aus: Wärmequellen, direkte Sonneneinstrahlung.
Schützen Sie Ihr Laminiergerät vor Nässe, Staub, aggressiven
Flüssigkeiten und Dämpfen. Verwenden Sie zum Laminieren nur
die hierfür vorgesehenen Spezialfolien. Das Gerät ist nicht zur
Verwendung in gewerblichen oder industriellen Bereichen
vorgesehen.
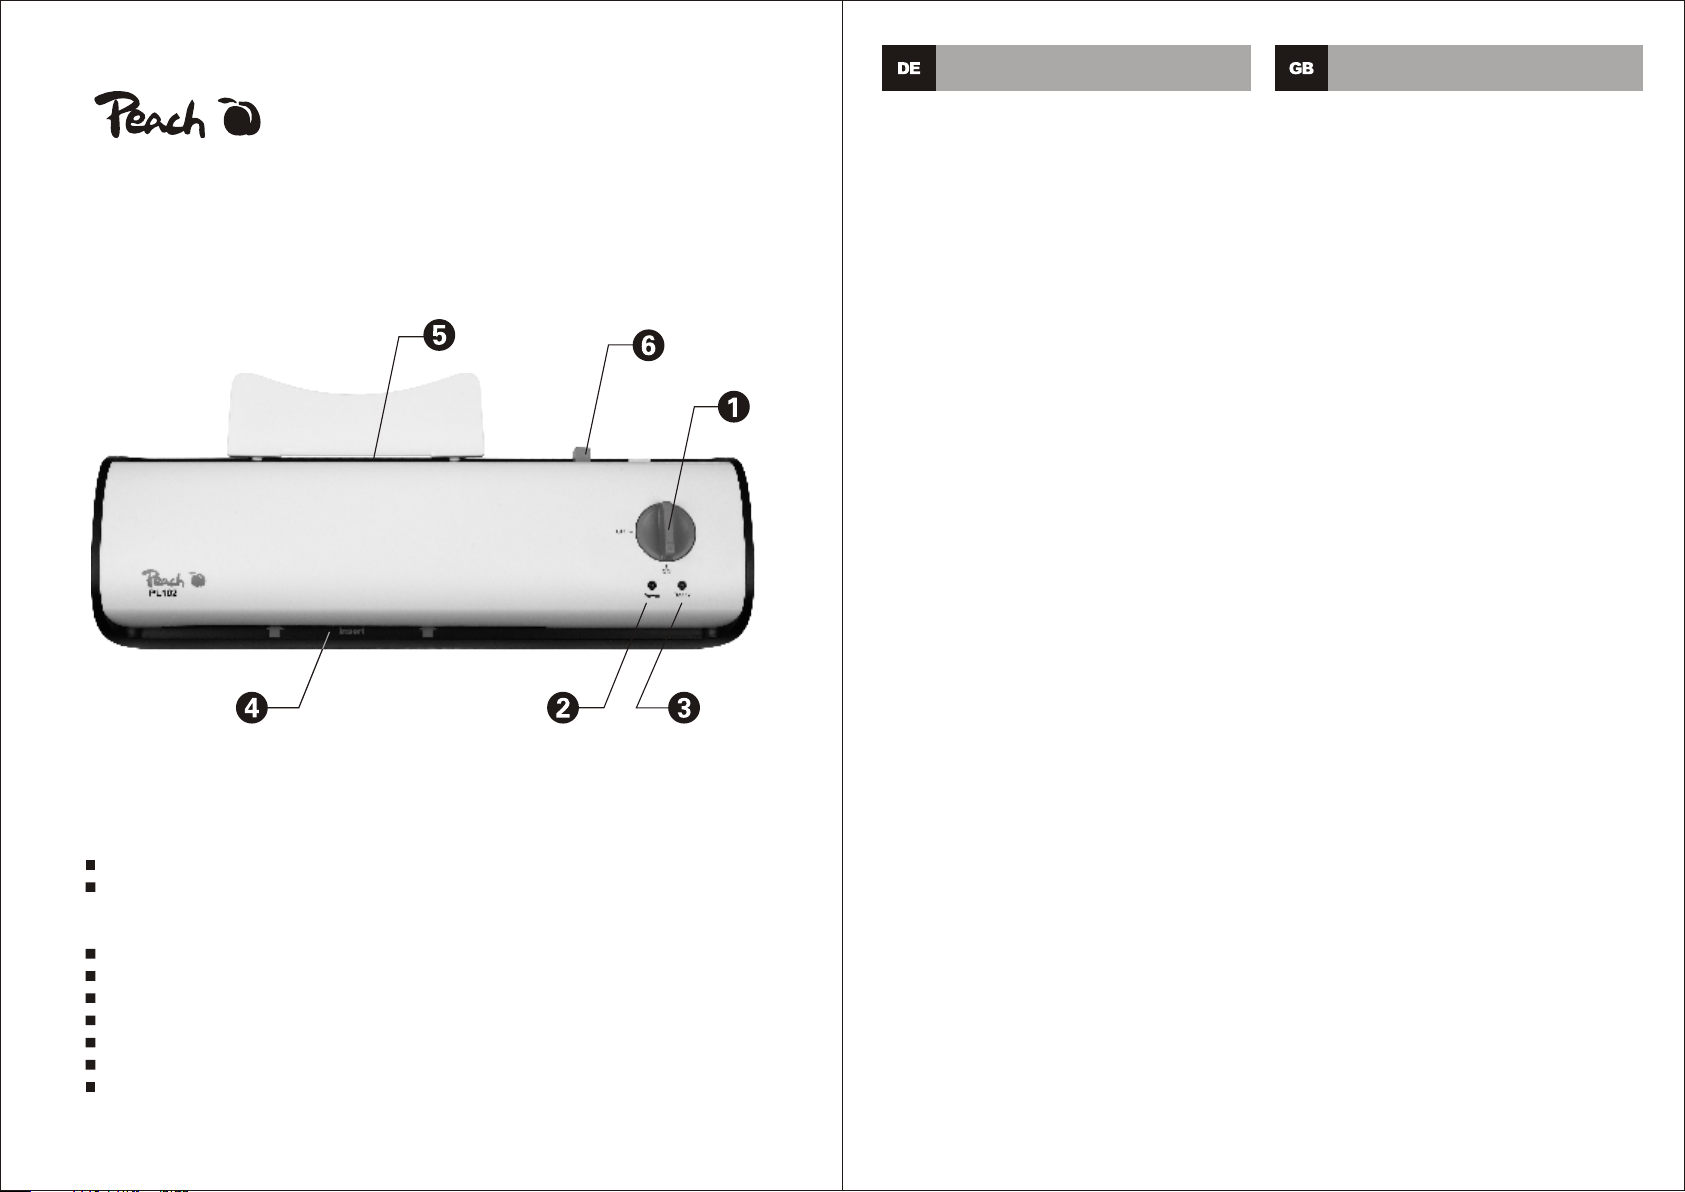
Gerätebeschreibung
1. Ein- / Aus-Schalter
2. Ein- / Aus-Indikationsleuchte
3. Indikationsleuchte "Betriebsbereit"
4. Schlitz für Folienzufuhr (vorne)
5. Folienauswurf-Schlitz (hinten)
6. Anti Blockier-Schalter (ABS)
Laminierung
1. Schalten Sie das Gerät ein, indem Sie den Schalter 1 auf „ON“
stellen. Die rote Ein- / Aus-Indikationsleuchte 2 leuchtet nun.
2. Wenn die grüne Leuchtanzeige 3 aufleuchtet, ist das Gerät
betriebsbereit.
3. Ordnen Sie das Dokument in der zu laminierenden Folientasche
mittig ein. Achten Sie darauf, dass alle Ränder des Dokuments
mindestens zwei Millimeter Abstand zum Rand der Folientasche
haben müssen.
4. Führen Sie die Folientasche von vorne 4 in das Laminiergerät
ein, bis diese von den Rollen erfasst- und transportiert wird.
Wichtig: Die Folientasche muss mit der geschlossenen Seite
zuerst eingeführt werden.
5. Das fertig laminierte Dokument wird aus dem Folienauswurf-
Schlitz an der Rückseite 5 ausgegeben. Lassen Sie die
Folientasche nach dem Laminieren eine Minute lang abkühlen,
bevor Sie sie berühren.
6. Falls die Folientasche irrtümlich schräg eingezogen wird oder
wenn sie sich im Geräteinnern verhakt gehen Sie bitte wie folgt
vor:
a. Drücken Sie den Anti-Blockier-Schalter (ABS) 6.
b. Die Folie wird nicht weiter eingezogen
c. Entnehmen Sie die Folie
d. Beginnen Sie erneut mit dem Laminiervorgang
User Instructions PL102
The information below is important. Please read this information
carefully before using the machine to avoid any problems.
Always position the machine on a solid working surface near an
easily accessible power socket. Do not attempt to laminate
metal objects. To avoid electric shocks, the laminator must not
be used in humid or wet conditions and water must never be
allowed to come into contact with the machine, the connection
cable or the socket. Do not use the machine if the connection
cable is damaged! Never subject the laminator to the following:
sources of heat, direct sunlight. Protect it against dampness,
dust, aggressive liquids and vapours. Only use special films
designed specifically for laminating. The laminator is not
intended for commercial or industrial applications.
Description
1. On / Off switch
2. On / Off indicator lamp
3. Indicator lamp “Ready”
4. Slot for pouch input (rear)
5. Pouch ejector slot (front)
6. Anti-Blocking switch (ABS)
Lamination
1. Turn the machine on by setting the switch 1 to the “On”
position. The red On / Off- indication lamp now glows.
2. The laminator has reached its operation temperature as soon
as the green “Ready” indicator 2 light glows.
3. Lay the document to be laminated into a laminating pouch of
the appropriate size. Make certain that all corners of the
document have at least two millimetres of space to the edge of
the laminating pouch.
4. Now slide the laminating pouch, sealed side first, slowly into
the pouch input slot 4. Guide the pouch into the laminator until it
is gripped and transported by the rollers
5. The completed laminated pouch is ejected from the pouch
ejector slot 5. Allow the laminated pouch to cool down for at
least one minute before touching it.
6. At the start of the lamination process, the pouch may be
pulled in at an angle or jam itself inside the appliance.
a. Press the anti-blocking switch 6.
b. The laminate pouch is not pulled any further in.
c. Remove the laminate pouch.
d. Re-start the lamination process.


Dołącz do dyskusji na temat tego produktu
Tutaj możesz podzielić się swoją opinią na temat Peach PL102 Laminator. Jeśli masz pytanie, najpierw dokładnie przeczytaj instrukcję. Zapytanie o instrukcję można złożyć za pomocą naszego formularza kontaktowego.