
2
GENERAL
Carefully read the following important information regarding
installation safety and maintenance. Keep this information booklet
accessible for further consultations.
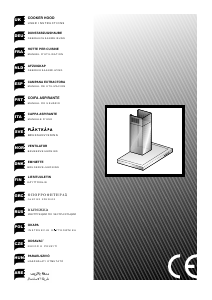
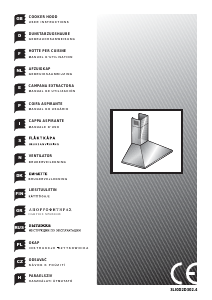
The appliance has been designed as a exhausting version (external
exhaust) or as a filter version (internal air recycle) cooker hood.
SAFETY PRECAUTION
• Take care when the cooker hood is operating simultaneously with an
open fireplace or burner that depend on the air in the environment and
are supplied by other than electrical energy, as the cooker hood removes
the air from the environment which a burner or fireplace need for
combustion.
The negative pressure in the environment must not exceed 4 Pa (4 x 10
–5
bar).
Provide adequate ventilation in the environment for a safe operation of
the cooker hood.
Follow the local laws applicable for external air evacuation.
• WARNING!!
In certain circumstances electrical appliances may be a danger
hazard.
A) Do not check the status of the filters while the cooker hood
is operating
B) Do not touch the light bulbs after appliance use
C) Flambè cooking is prohibited underneath the cooker hood
D) Avoid free flame, as it is damaging for the filters and a fire
hazard
E) Constantly check food frying to avoid that the overheated oil
may become a fire hazard
F) Disconnect the electrical plug prior to any maintenance.
INSTALLATION INSTRUCTIONS
• Electric Connection
The appliance has been manufactured as a class II, therefore no earth
cable is necessary.
The connection to the mains is carried out as follows:
BROWN = L line
BLUE = N neutral
If not provided, connect a plug for the electrical load indicated on the
description label. Where a plug is provided, the cooker hood must be
installed in order that the plug is easily accessible.
An omnipolar switch with a minimum aperture of 3mm between contacts,
in line with the electrical load and local standards, must be placed
between the appliance and the network in the case of direct connection
to the electrical network.
• The appliance must be installed at a minimum height of 650mm
from cooker stove.
If a connection tube composed of two parts is used, the upper
part must be placed outside the lower part.
Do not connect the cooker hood exhaust to the same conductor
used to circulate hot air or for evacuating fumes from other
appliances generated by other than an electrical source.
• Mounting the cooker hood to the wall
Drill holes A-C-D according to indications quoted in (fig. 3).
Use screws and screw anchors suitable for wall (e.g. reinforced cement,
plasterboard) for the mounting of the cooker hood.
Where screws and screw anchors are supplied ensure that they are
suitable for the type of wall where the cooker hood is to be mounted.
Lock in the flange connector Y to the cooker hood (fig. 2).
Affix the bracket Z to the wall via the drill holes A
Hang the cooker hood on the wall using the drill holes C.
Fasten the cooker hood using the fastening drill holes D.
• Exhausting version
Connect the flange Y to the discharge opening with a connecting tube
(do not carry out for filter version).
Insert the upper exhausting of the chimney E inside the lower section F.
Fix the lower of the chimney tothe hood by the screws H supplied (fig.
2). Pull out the upper section up to bracket Z and fix the screws L (fig.
2)In order to transform your cooker hood from suction version to filter
version, ask your local retailer for active carbon filters and then carry
out instructions for mounting filter version cooker hood.
• Filter Version
Install the cooker hood and the two connectors as described in the
paragraph mounting the exhausting version cooker hood.
To mount the filter connector refer to instructions included in the kit.
If the kit is not supplied, then order the kit as an accessory from your
local dealer.
The filters must be fitted to the fan unit placed inside the cooker hood.
The air is replaced in the environment via the eyelets impressed on the
connector E.
USE AND MAINTENANCE
• It is recommended to operate the appliance prior to cooking.
It is recommended to leave the appliance in operation for 15 minutes
after cooking is terminated in order to completely eliminate cooking
vapours and odours.
The proper function of the cooker hood is conditioned by the regularity
of the maintenance operations, in particular, the active carbon filter.
• The anti-grease filters capture the grease particles suspended in the
air, and are therefore subject to clogging according to the frequency
of the use of the appliance.
In order to prevent fire hazard, it is recommendable to clean the filter
at a maximum of 2 months by carrying out the following instructions:
- Remove the filters from the cooker hood and wash them in a solution
of water and neutral liquid detergent, leaving to soak.
- Rinse thoroughly with warm water and leave to dry.
- The filters may also be washed in the dishwasher.
The aluminium panels may alter in colour after several washes. This
is not cause for customer complaint nor replacement of panels.
• The active carbon filters purify the air that is replaced in the environment.
The filters are not washable nor re-useable and must be replaced at
maximum every four months. The saturation of the active carbon filter
depends on the frequency of use of the appliance, by the type of cooking
and the regularity of cleaning the anti-grease filters.
• Clean the fan and other surfaces of the cooker hood regularly using
a cloth moistened with denatured alcohol or non abrasive liquid
detergent.
• COMANDS: (Fig.5A) LUMINOUS_(Fig.5B) MECHANICAL the
key symbols are explained below:
A = LIGHT
B = OFF
C = SPEED I
D = SPEED II
E = SPEED III
F = AUTOMATIC STOP TIMER - 15 minutes
G= MOTOR WORKING indicator
(Fig. 5C) DISPLAY:
Push-button A = on/off lights switch
Push-button B = on/off cooker hood switch. The appliance switches on
at speed level 1, If the cooker hood is on depress the push-button for ½
a second to switch off the cooker hood. If the cooker hood is at speed level
1 it will not be necessary to depress the push-button to switch the cooker
hood off. Decreases the motor speed.
Display C = indicates the motor speed level selected and activates the
timer.
Push-button D = switches on the cooker hood. Increases the motor
speed. Depressing the push-button for 1 about second initiates the
intensive speed level for 10’ [minutes] and then returns to the speed level
prior to activation of this function.
Push-button E = Timer, when active should be visible via the decimal
point flashing in the Display “C”. Depressing the push-button when the
cooker hood is in the off mode will switch on the appliance at the first speed
level for 15’ [minutes]. The Timer switches the cooker hood off completely
(lamps and motor) after 15’ [minutes].
E.g.: if the lamps only switch on, and the timer switch is depressed then
the lamp will turn off after 15’ [minutes]. To deactivate the timer depress
the push-button a second time (twice).
The "Automatic stop timer" delays stopping of the hood, which will
continue functioning for 15 minutes at the operating speed set at the
time this function is activated.
THE MANUFACTURER DECLINES ALL RESPONSIBILITY FOR
EVENTUAL DAMAGES CAUSED BY BREACHING THE ABOVE
WARNINGS.
ENGLISH



Dołącz do dyskusji na temat tego produktu
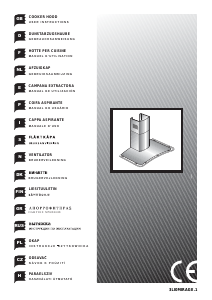
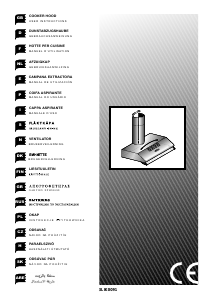
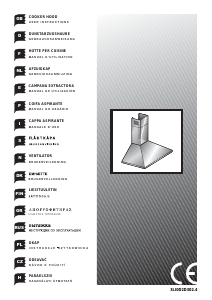
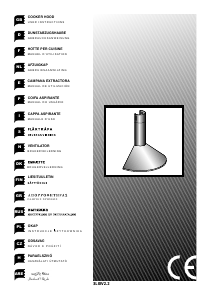
Tutaj możesz podzielić się swoją opinią na temat ETNA EN4480 Okap kuchenny. Jeśli masz pytanie, najpierw dokładnie przeczytaj instrukcję. Zapytanie o instrukcję można złożyć za pomocą naszego formularza kontaktowego.